Thank you for your feedback!
We will contact you shortly
Free consultation
Enter your phone number and we will call you back for a consultation on any moving and storage services
Techniques for Moving Gym Gear
Discover expert insights and strategies for relocating exercise equipment efficiently. Learn the safest gym equipment transport methods and techniques for ensuring a smooth and hassle-free move. Whether you're moving your home gym or commercial fitness equipment, this guide has you covered.

Efficient Techniques for Moving Gym Equipment
Relocating a gym—home studio or commercial floor—comes down to safety, planning, and discipline. Fitness machines are heavy, bulky, and often hide delicate electronics. Mishandling risks injuries, delays, and costly repairs. Use this step-by-step guide to pack, move, and reboot your equipment without chaos.
1) Plan like a pro
Start with an inventory. List everything you’re moving: cardio (treadmills, ellipticals, bikes), strength (racks, stations, benches), free weights, and accessories. Record dimensions and weights for key items. Measure doorways, corridors, stair turns, and elevator cabs at both locations. Map the indoor carry path and the vehicle route. If you’re handling a commercial gym, add a downtime schedule and an order of priority for reassembly so your critical stations go live first.
Mini planning checklist:
- Full equipment list with dimensions/weights
- Floor plans + doorway/elevator measurements
- Carry path (ramps, stairs, tight corners)
- Crew lineup and role assignments
- Load/unload windows + contingency day
- Insurance/COIs and liability for the load
2) Tools and materials that save your back
The right kit trims hours and risk. Prep moving straps with ratchets, platform dollies with adequate capacity, sliders for feet, pry bars, hex keys, socket sets, a torque wrench, sturdy gloves, and safety-toe footwear. For electronics: bubble wrap, stretch film, thick blankets, and rigid corner guards. Odd shapes? Appliance rollers or shoulder harnesses help. For labeling: zip bags, markers, painter’s tape, and cable ties. A small spend here prevents big repairs later.
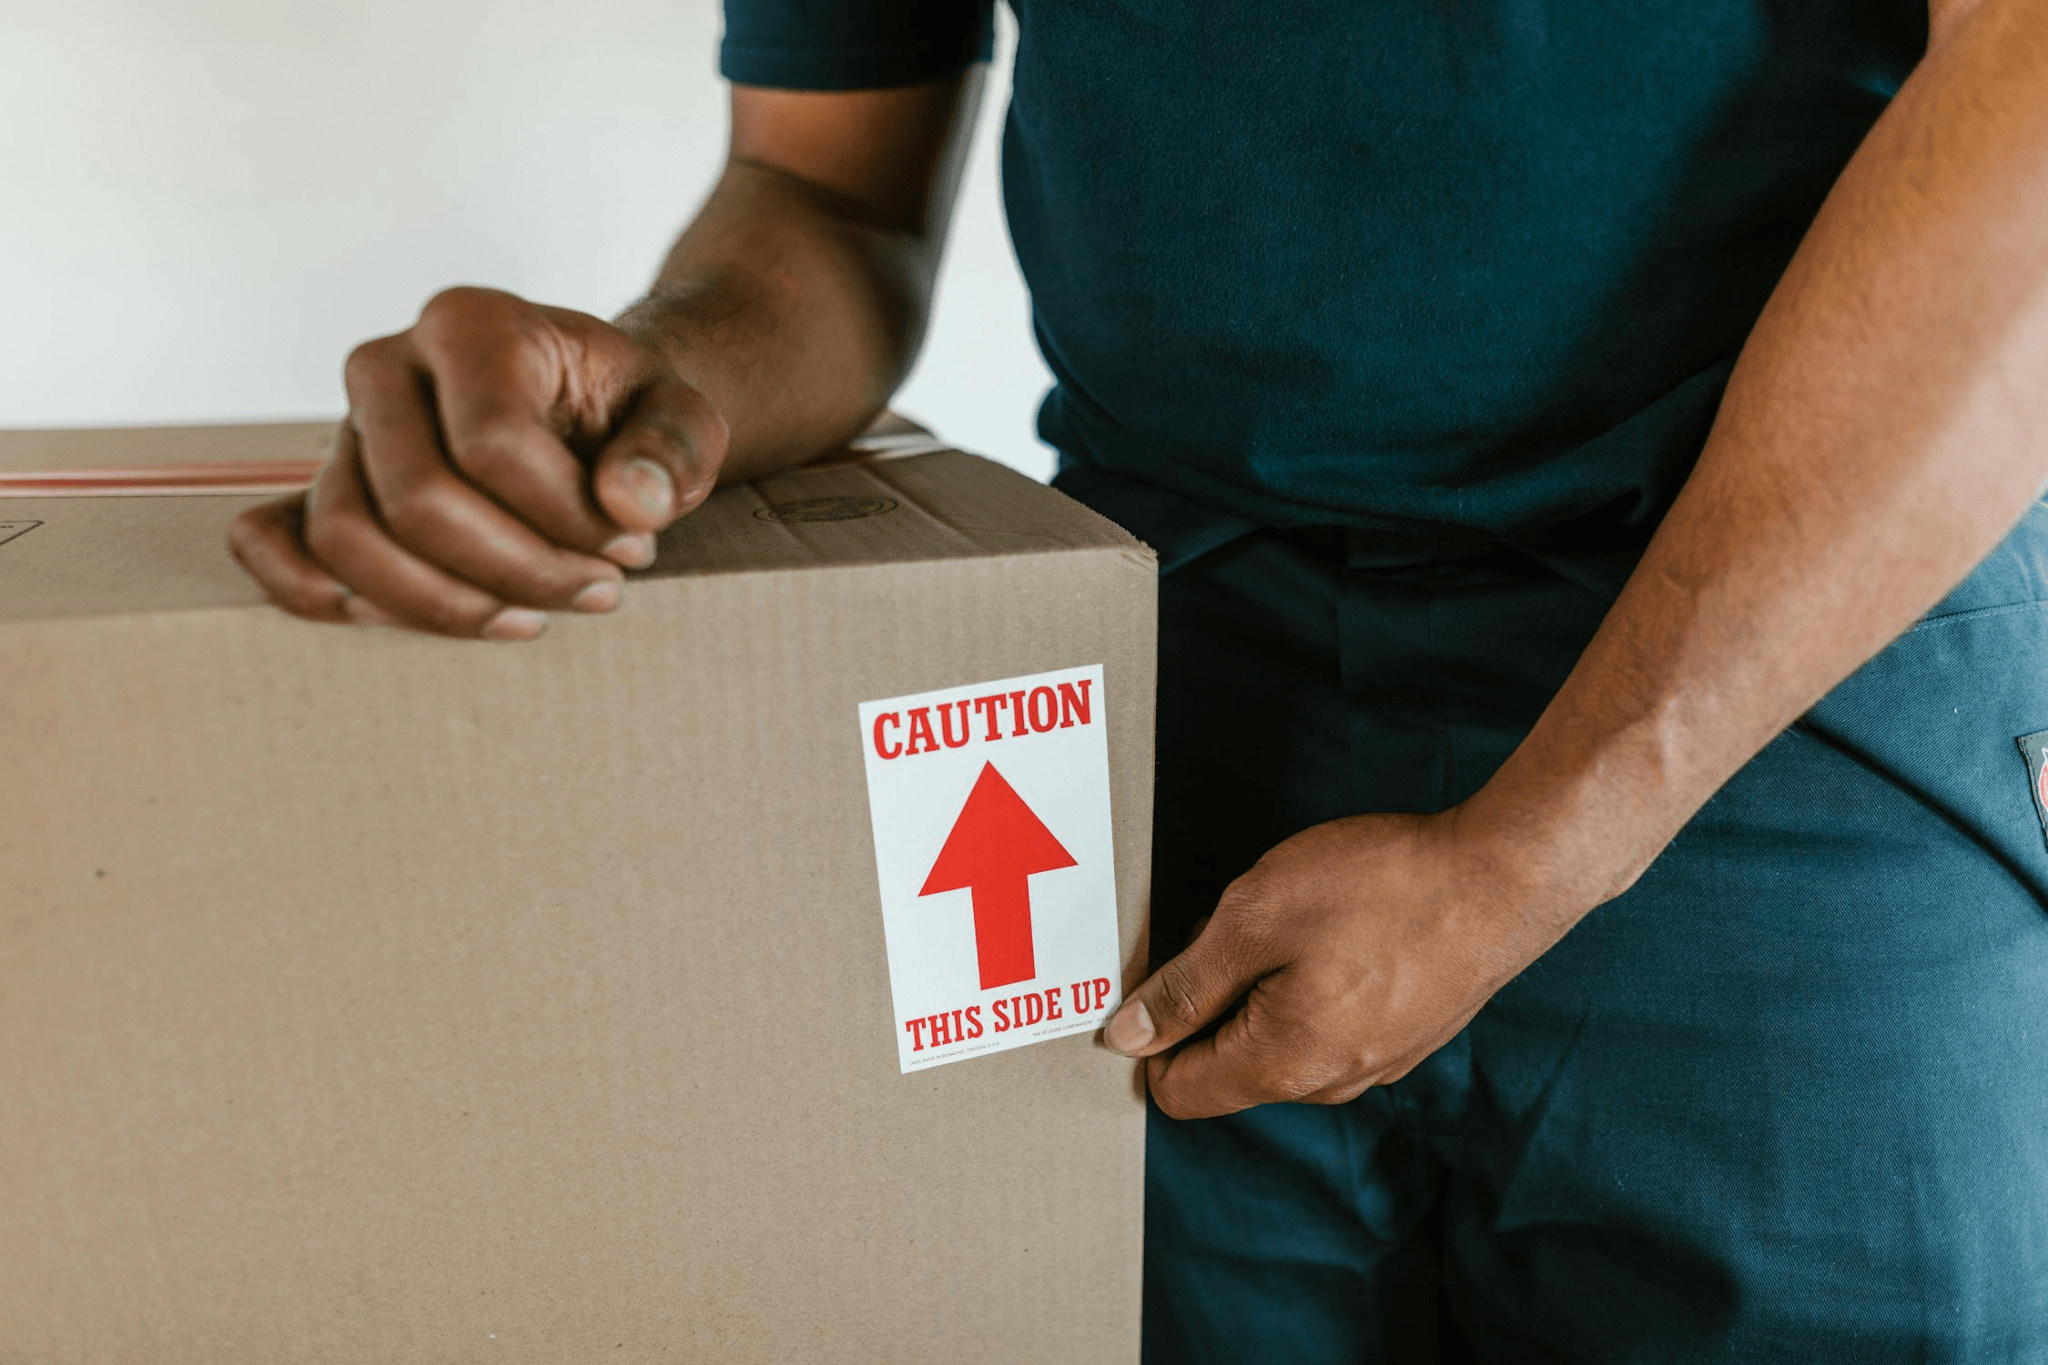
3) Disassembly and labeling—no surprises later
Safer transport begins with prep. When possible, break down large assemblies: consoles, handrails, uprights, levers. Remove plates, barbells, batteries, bottle holders, and detachable trays.
Order of operations:
- Disconnect power, coil and secure all cables.
- Photograph assemblies before and during disassembly (wide shot + close-ups of fasteners).
- Sort hardware by subassembly—each set into a labeled zip bag: “treadmill—rails,” “rack—crossmember,” etc.
- Store manuals/warranties together in one folder.
- Mark adjustment positions (seat rails, belt tension) with tape/pen for faster re-setup.
4) Protect floors and walls
Heavy machines can scar surfaces fast. Lay thick floor mats, cardboard, or plywood along the route. Use sliders under feet. Shield doorframes and corners with protectors. It’s cheaper than refinishing hardwood or tile.
5) Crew safety is non-negotiable
Don’t “muscle through” a bad lift. Distribute load and move in sync. Hold a quick safety huddle before the first lift, assign a spotter, and establish verbal cues.
Golden lifting rules:
- Neutral spine; lift through the legs, not the back
- Fit straps/belts snug—no slack before lift
- Keep the load close to your center of gravity
- Two or more people on any bulky item, with one caller
- PPE: gloves, helmets, closed shoes with toe protection
- Stairs require landings, pauses, and extra tie-offs
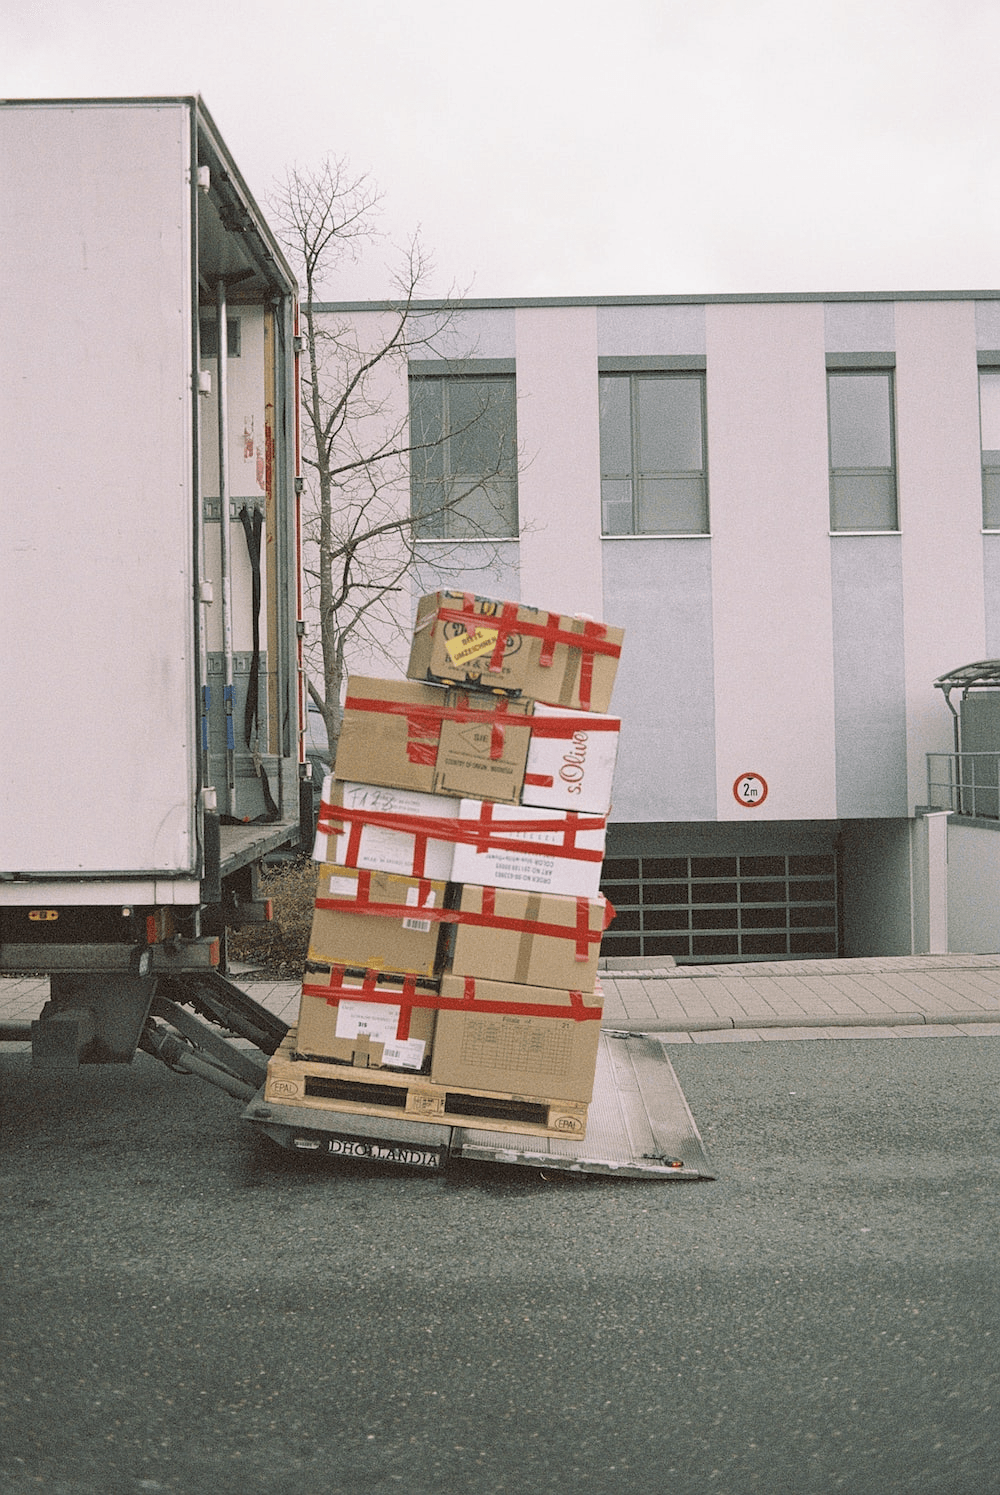
6) Load and secure for transport
In the truck or trailer, spread weight evenly. Heavy items go low and near the axle. Pad between units with blankets; protect edges; immobilize moving parts with straps. Fold treadmills only if the design allows. Keep electronics away from potential moisture. Use proper e-track rails or anchor points—never rely on random rope and hope.
7) Drive like you’re carrying glass
Avoid brake-gas “sawing.” Leave room, take turns smoothly, and crawl over speed bumps. On longer trips, make short stops to check strap tension and load shift. A two-minute check can save a console.
8) Unload, reassemble, level, calibrate
Unpack systematically, one unit at a time. Follow your photos and labels. Torque critical fasteners to manufacturer spec—guessing isn’t good enough for load-bearing joints. Level machines; use adjustable feet or shims to correct uneven floors. Post-assembly startup checklist:
- Power and data cable integrity
- Console self-tests or calibration routines
- Belt/chain tension and guide lubrication
- Short functional test under user load on all key modes
9) When to call professionals
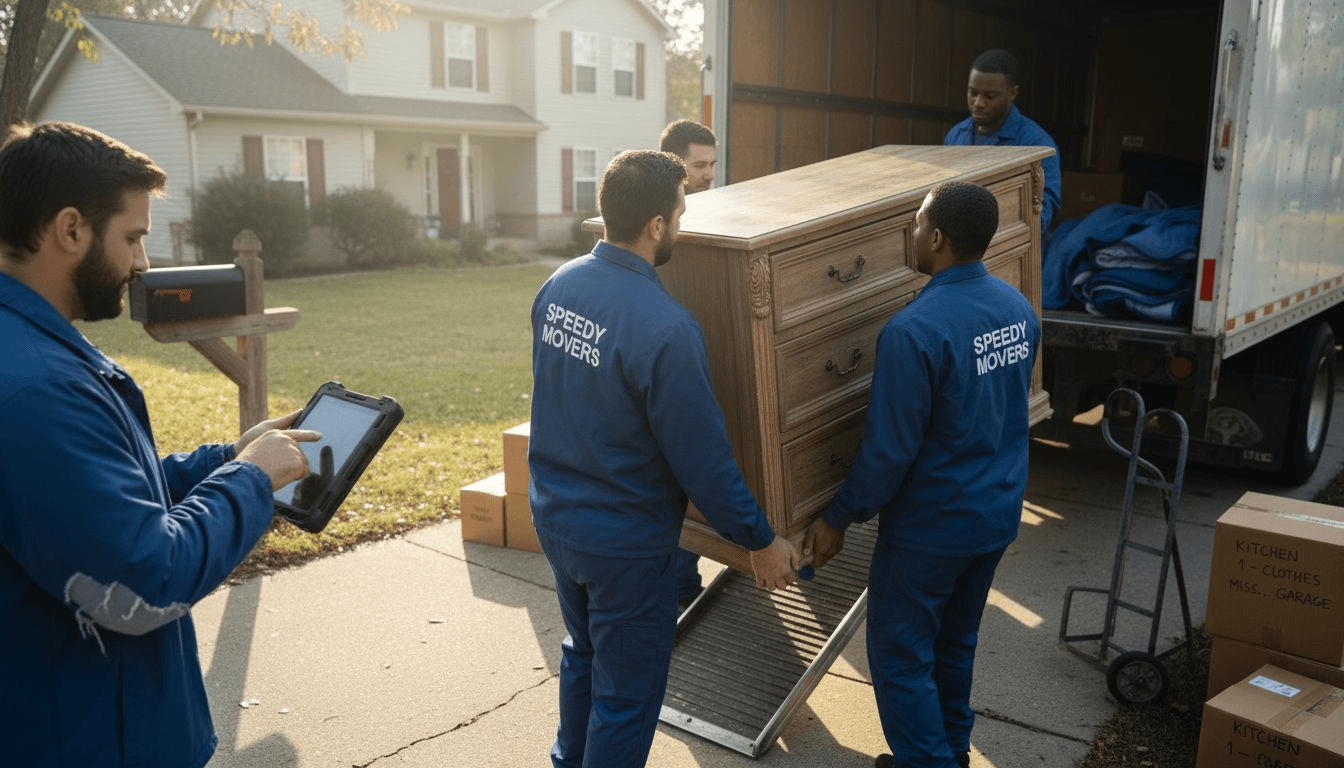
If you’re dealing with oversized racks, platforms, commercial treadmills, tight switchbacks, or limited elevator capacity, bring in pros. Experienced movers with gym know-how carry the right rigging, insurance, and liability coverage. Provide them with your equipment list, origin/destination details, load windows, and any special demo requirements. For multi-site or large-format jobs, consider dedicated commercial relocation services.
10) Typical pitfalls—and the fix
Skipping doorway measurements leads to mid-move dead ends. Unlabeled hardware turns a one-hour reassembly into a four-hour hunt. Skimping on padding gouges frames and floors. Too few hands creates risky lifts and blown schedules. Loose tie-downs let gear drift and buckle brackets. And failing to calibrate post-move causes squeaks, belt drift, and premature wear. The antidote: measure, label, pad, staff appropriately, secure correctly, and always test.
11) A simple timeline for a small home studio
- Inventory and measurements: 1–2 hours
- Disassembly and packing: 2–4 hours
- Carry and loading: 1–3 hours
- Transit: per route
- Unload and reassembly: 2–5 hours
- Calibration and test: 30–60 minutes
Moving fitness equipment isn’t about brute force; it’s about sequence and control. With a solid plan, the right tools, and disciplined handling, you’ll relocate without damage and get your space training-ready fast. And if the scope or risk is high, hand the heaviest lifts to specialists and focus on reopening the gym on schedule.

Artur Shakhnazarov
PR Manager
I love my work doing PR and SEO for Star Van Lines. PR roles involve constantly brainstorming new angles and approaches to generate positive coverage. I am always exercising my creativity.